This article will show you how to navigate the Map dashboard and perform advanced weather monitoring and map set up capabilities.
Viewing Assets on your Map
-
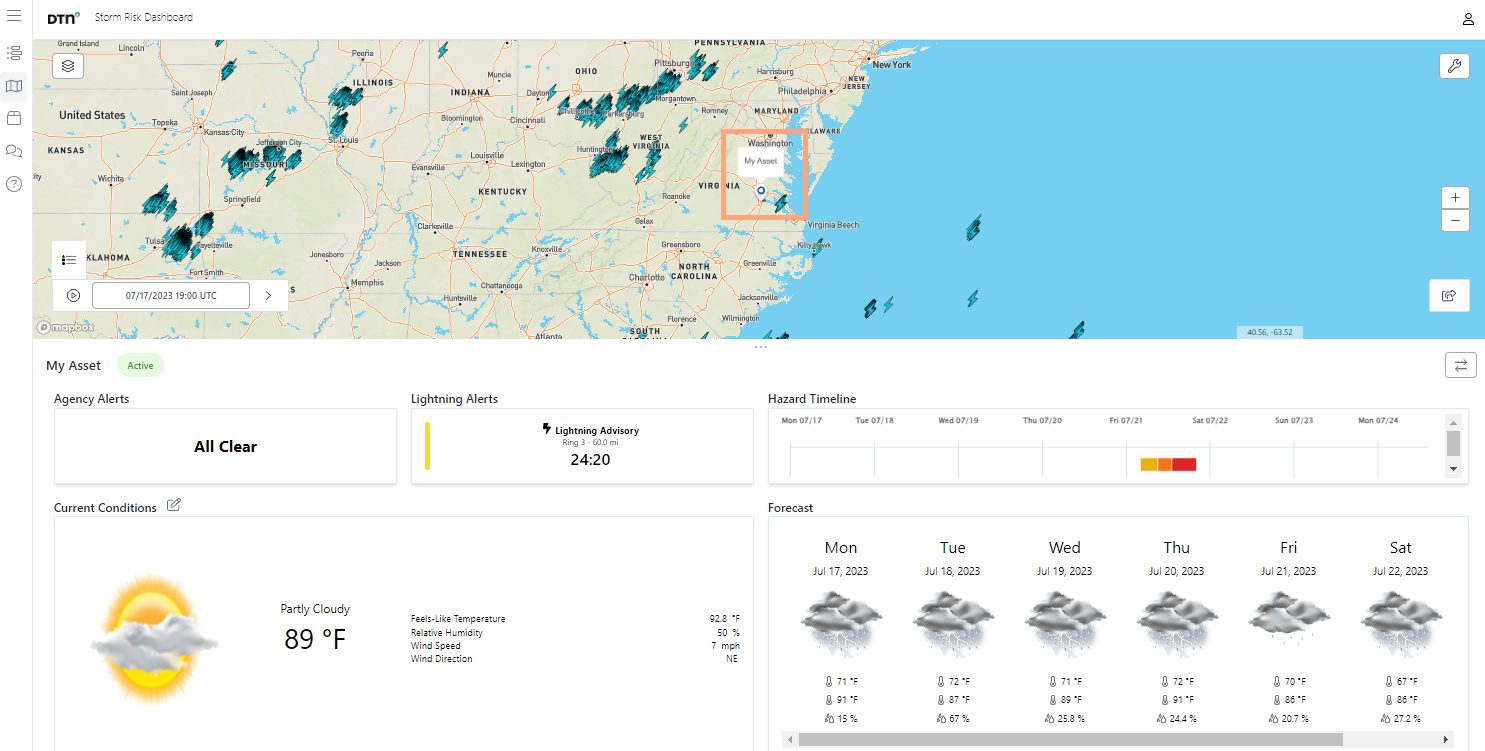
After creating an asset, all of your assets will be displayed on this map view. Click on any single asset to pull up more information such as Agency Alerts, Lightning Alerts, Hazard Timeline, Current Conditions, and a Daily Forecast.

-
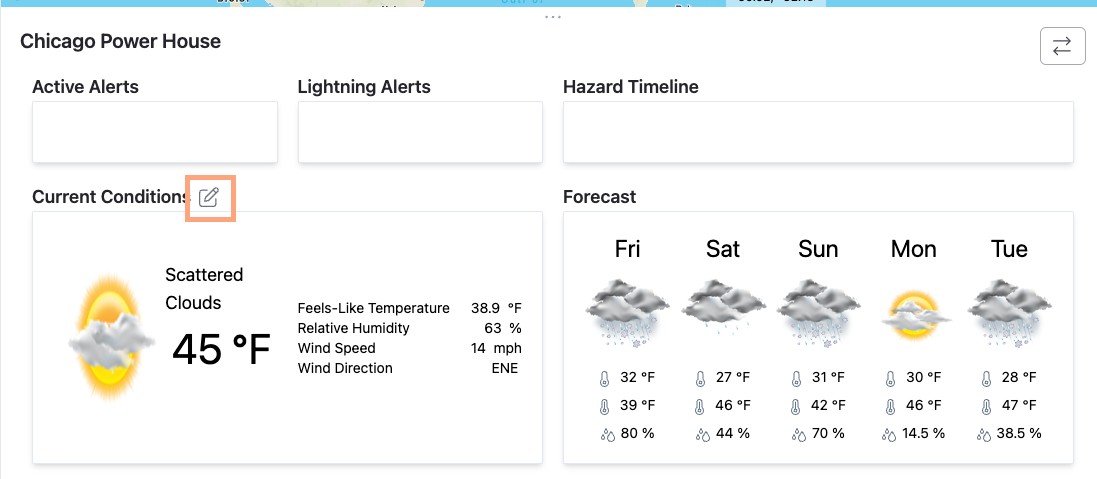
To edit various weather conditions to show, click on the Edit icon next to Current Conditions. Select the weather conditions you would like to view, and click Save.

-
Select the weather conditions you would like to view, and click Save.

Adding Weather Layers on your Map
-
Start with clicking on the Layers icon in the top left corner.

-
Now search for any desired weather layers, click on the checkbox to the left of the layer to activate the layer. Once you have active layers, you can adjust the opacity (0% – 100%), Model run (for custom models), and adjust the order the layers should show by clicking on the left side and dragging the layer up or down the list.

-
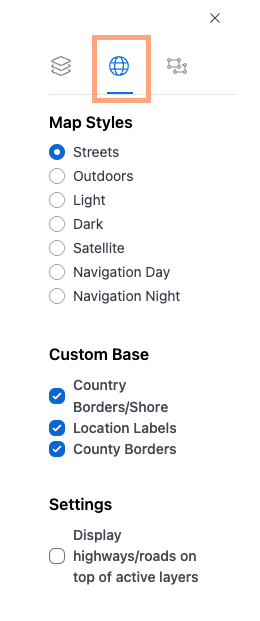
If you click on the Map Settings in the top middle portion, you can select various map settings such as Map Styles, Custom Base, and Display Settings.

-
Once you have selected your Map layers and settings, at the bottom of the Map, you can click on the Legend icon (bottom left) to view legend details, play icon (bottom left) to play the forecast animation, along with controls for the animation speed and time stamp.

Map tool features (Share Map)
-
Start by clicking on the additional map tool feature you would like to use (bottom right)

-
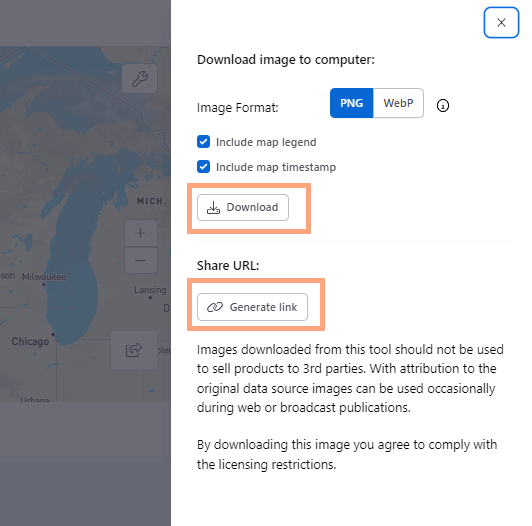
Share Map: Click on the Share icon to pull up the Share Map options. Select the desired format and map attributes. Choose Download or Generate link to begin sharing the Map view.
