Creating an Asset
-
Click on the ‘Create Asset’ button found in the Map or Assets page

-
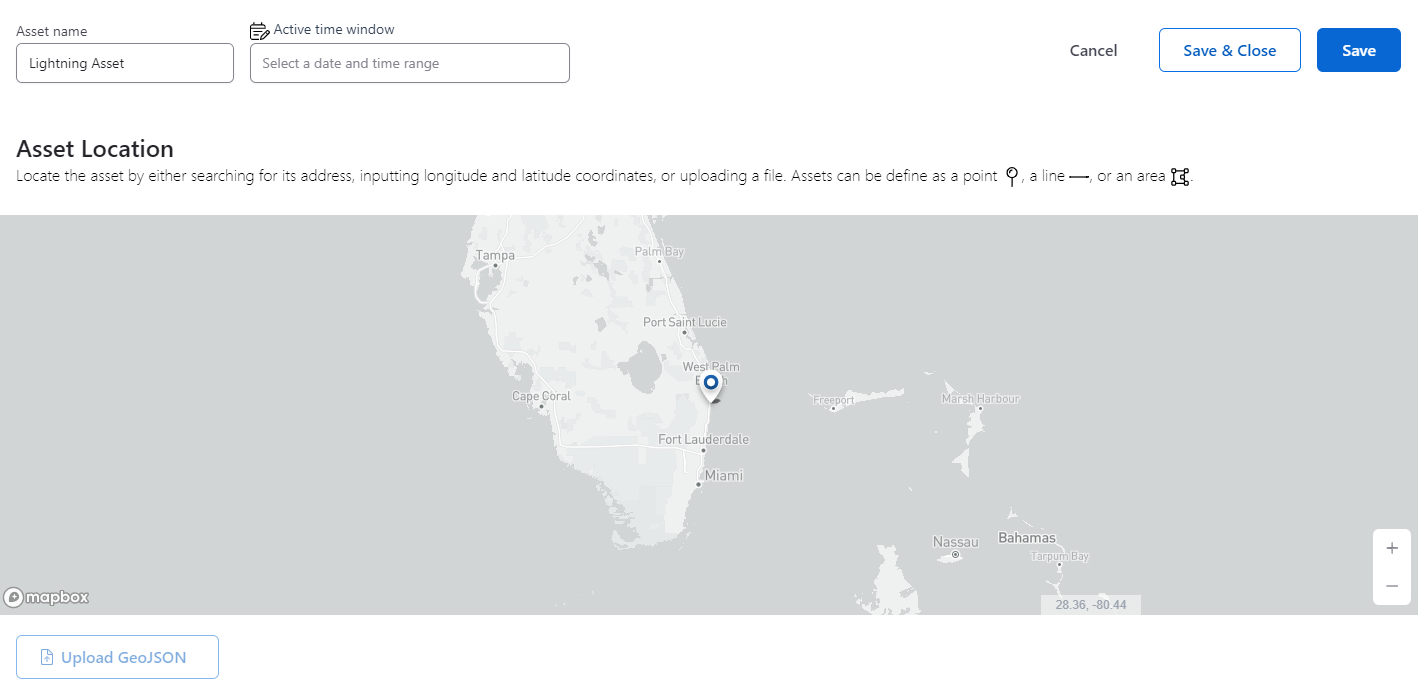
Enter the Asset name and the date and time range for the Asset to be active. Leave this field blank if you would like your Asset to always be active.
-

-
There are multiple ways to enter or draw an asset:
-
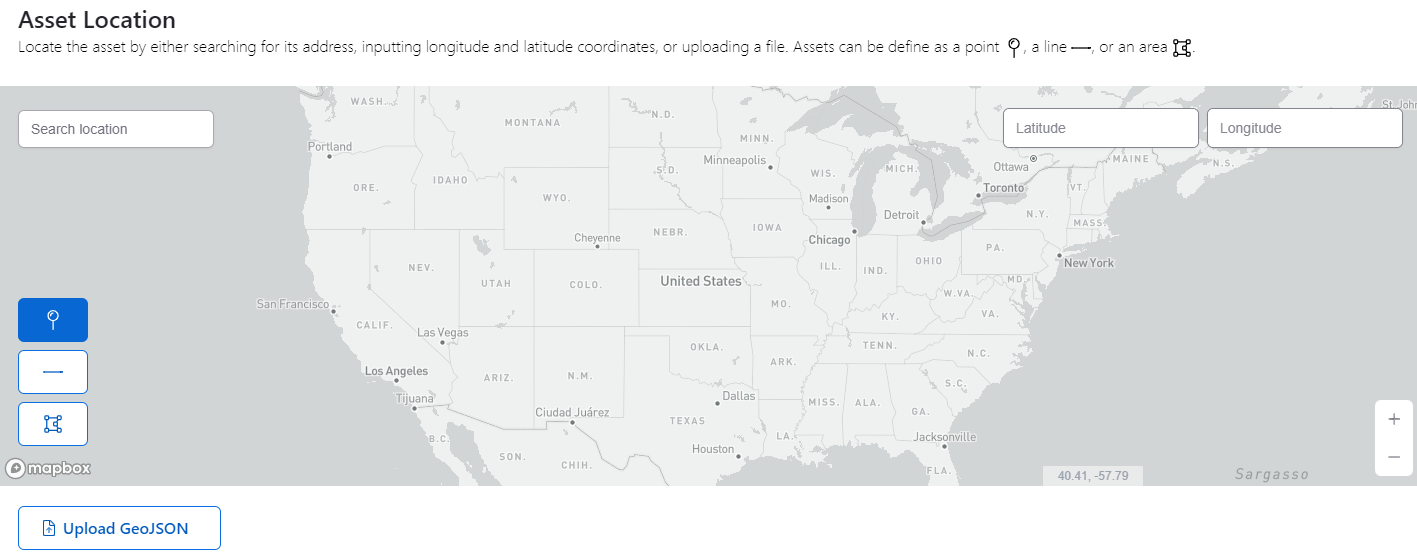
Enter a location name or address
-
Enter the latitude and longitude coordinates
-
Click the Pin Drop icon, then single click on the map
-
Click on the Polygon icon, then click on the map to add points to the polygon. Click on the first point to close the polygon. Click on the Delete icon to erase the polygon and to draw a new one.
- Click on the Line icon, then click on the map to add points to the line. Double-click on the end point to finish the line. Click on the Delete icon to erase the line and draw a new one.
-
Upload a GeoJSON file from your local machine by clicking the ‘Choose a file’ button

-
-
Once you have entered all of the asset information, click ‘Save’ and go through the rest of the Asset Wizard to set up Alerts and Notifications pertaining to this asset.

Editing an Asset
-
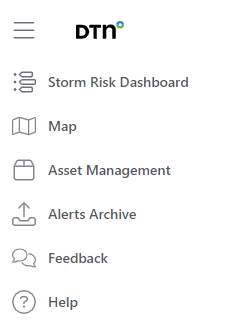
To begin editing an asset, on the top left hand side click on the Asset Management page in the Menu bar.

-
Now, find or search for the asset you want to edit, hover over the right side of the asset line, and click on the pencil icon to edit the asset.

-
From here, you will be able to edit the asset name and active time window. Click ‘Save’ to save any changes made.

Deleting an Asset
-
To begin deleting an asset, on the top left hand side click on the Asset Management page in the Menu bar.

-
Now, find or search for the asset you want to delete, hover over the right side of the asset line, and click on the trash can icon to delete the asset.


